
Flooring · West Salt Lake County
Bathroom Flooring on Slab-on-Grade Homes
On the west side, your bathroom floor sits on concrete, not framing. That single fact changes how we handle moisture, height, and curbless design.
West Salt Lake County's housing is predominantly slab-on-grade, from the post-war tract homes through the newer subdivisions built on former farmland, and a flooring project on a slab is a genuinely different undertaking than the same project over a wood-framed floor. There are no joists to check for deflection, but there is a different set of questions entirely: how much moisture is coming up through the concrete, how the new finish's height will meet the surrounding rooms, and whether a curbless shower can be formed directly into the slab rather than built up on top of it.
Deflection, the concern that dominates flooring conversations in most of the rest of the valley, is largely irrelevant here. What replaces it is moisture vapor coming up through the concrete from the ground below, which is a slower, quieter problem than a cracking tile joint but one that can just as thoroughly ruin a finished floor if it is not accounted for at the design stage. Slabs in this part of the valley vary in age, in original vapor barrier quality, and in moisture condition, and we test rather than assume.
This page covers how we assess slab moisture before specifying a finish, what typically needs removing from a slab bathroom of this vintage, how height transitions to adjoining rooms are handled, how a curbless shower recess is actually formed in concrete, and the honest cost factors for flooring work on slab construction in west Salt Lake County.
Moisture at the slab: the question that replaces deflection here
A wood-framed floor's structural performance is visible and measurable: you can see deflection, you can check joist size, you can identify a soft spot. Slab moisture is invisible until it has already damaged a finish, which is why we test for it directly rather than relying on visual inspection alone. Older slabs in this part of the county, particularly those poured before vapor barriers were standard practice, can carry moisture up through the concrete at a rate that will eventually loosen adhesive, cloud a finish, or promote mold beneath an impermeable floor covering.
Where a slab tests within an acceptable moisture range, standard setting materials and a straightforward waterproofing approach at the wet perimeter are appropriate. Where it does not, which is genuinely common in homes from the 1950s through the 1970s, we specify a moisture mitigation system, typically a vapor-reducing membrane or coating applied directly to the slab before the new floor assembly is built on top of it, rather than installing a beautiful floor over a condition that will undermine it within a few years.
This testing step is one we do not skip regardless of how the slab looks or how old the home is, because visual inspection alone genuinely cannot tell you what a slab's moisture emission rate is. A slab that looks perfectly dry and sound can still be moving enough vapor to compromise certain adhesives and finishes, and the only way to know is to test it properly before committing material to it.
For homeowners planning a curbless or low-threshold shower, which we discuss further below, slab moisture condition matters even more, since that design depends on a continuous, well-bonded waterproof assembly directly on the concrete, and any moisture issue at the slab has to be resolved before that membrane goes down, not discovered after it has already failed.
- Slab moisture tested directly rather than assumed from the home's age or appearance
- Vapor-reducing membrane or coating specified where moisture readings warrant it
- Standard setting materials appropriate only where slab moisture tests within acceptable range
- Moisture resolved before any curbless membrane assembly is installed on the slab
Removing what is already there on a slab bathroom
Post-war west valley bathrooms often have flooring bonded directly to the slab with an older adhesive, sometimes multiple generations of it layered from successive updates. Removing old adhesive from concrete is genuinely more labor-intensive than pulling flooring off a wood subfloor, since the concrete has to be mechanically cleaned back to a sound surface without damaging the slab itself, and we plan for that time in the schedule rather than treating it as incidental.
Older adhesives in homes of a certain vintage can contain materials that require specific handling during removal, and where a home's age puts it in the relevant window, we follow appropriate testing and handling protocols before beginning demolition rather than assuming modern materials are present.
One-piece fiberglass tub-shower units, common in the 1970s and 1980s subdivisions across this area, sit directly on the slab as well, and their base flange is a frequent point of slow water intrusion over the decades. Because there is no subfloor to become soft or stained the way a wood floor would, the damage from a leaking flange on a slab tends to show up differently, often as a stained or degraded area of the slab surface itself or as moisture trapped beneath the unit's base, and we check for that once the unit is out rather than assuming a clean slab underneath.
Newer slab homes in this area, from the 1990s onward, generally have simpler removal, with a single modern flooring layer bonded with contemporary adhesive, and correspondingly less time and complexity in the demolition phase.
- Old adhesive removal from concrete is more labor-intensive than a typical wood subfloor tear-out
- Appropriate testing and handling protocols followed given the age-related materials some homes may contain
- Base flange areas of removed fiberglass units checked for slab-level moisture damage
- Newer slab homes generally have simpler, faster demolition than older post-war construction
Height transitions to adjacent rooms on a slab
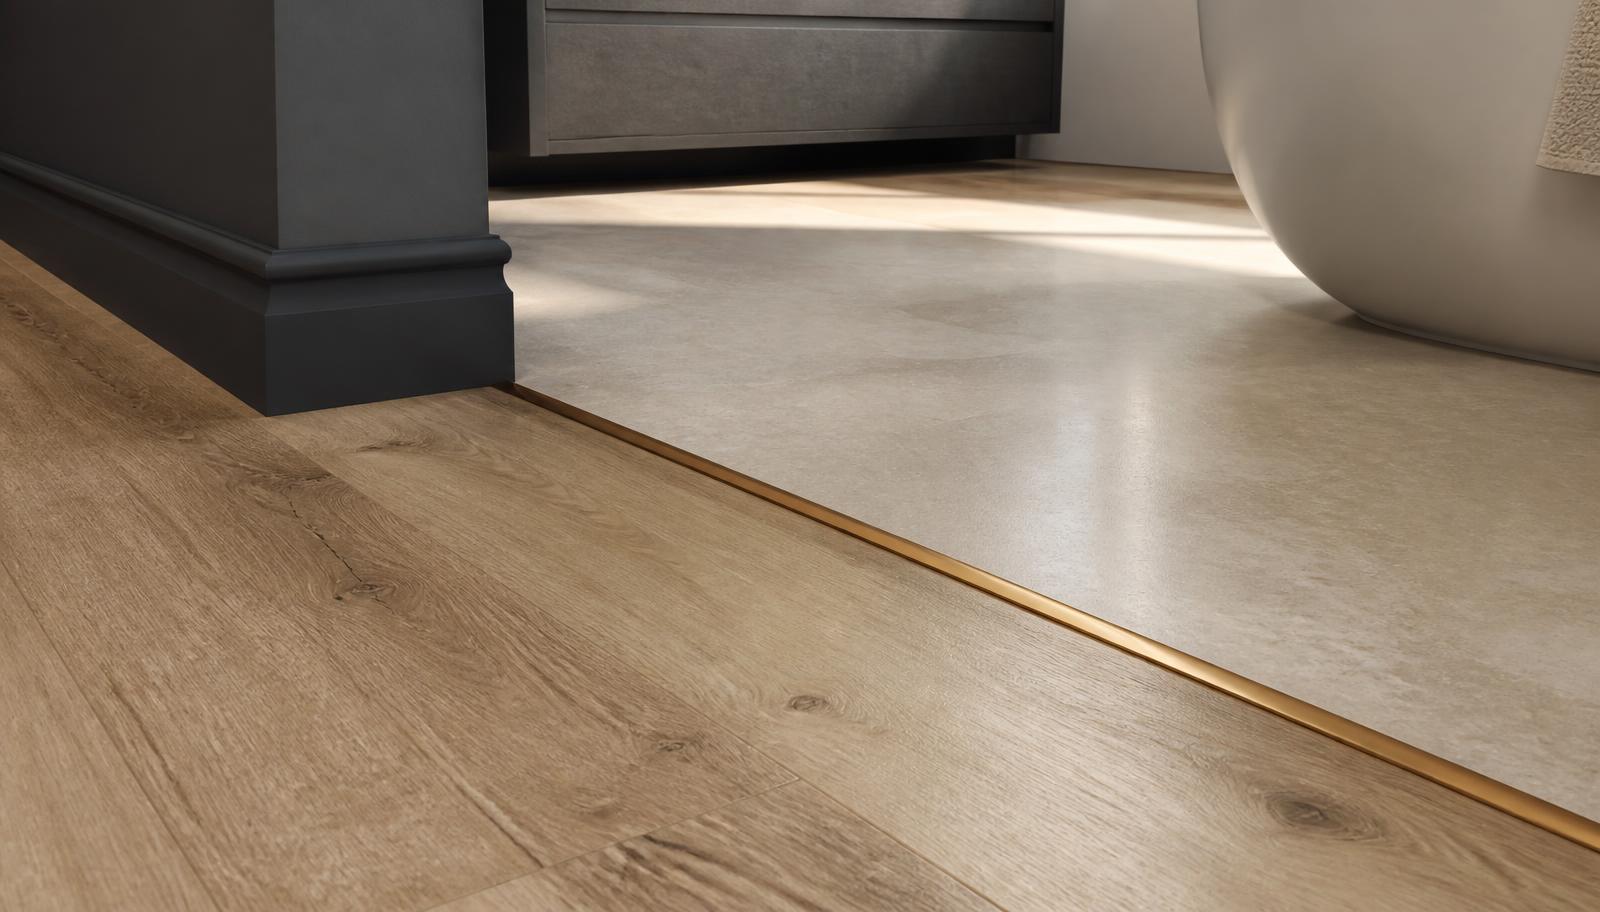
On a slab, there is no framing cavity to absorb a change in finished floor thickness, which means every layer added above the concrete, waterproofing, setting material, and finish, shows up directly as a height difference at the doorway to the adjacent hallway or bedroom. In wood-framed construction a contractor has some ability to adjust subfloor thickness to compensate; on a slab, that flexibility does not exist in the same way, and transitions have to be planned with real precision.
We measure the existing floor heights on both sides of every doorway before specifying a new assembly, and we select setting materials and underlayment thicknesses specifically to keep the transition as close to flush as the materials allow, using a transition strip only where a genuine mismatch is unavoidable rather than as a default solution. In homes where the adjacent room has carpet, some height difference is expected and normal, but where it meets another hard-surface room, a clean, minimal transition is achievable with the right planning and is worth the extra design attention it takes.
Where a client is also replacing an original one-piece fiberglass unit that sat at a different height than the surrounding room, correcting that discrepancy is often one of the most satisfying small improvements in the whole project, removing a step that residents have simply adapted to living with for years.
For accessibility-focused projects, height transition planning becomes central rather than incidental, since a properly designed slab bathroom can achieve a genuinely flush, no-step entry from the adjacent hallway in a way that is considerably harder to engineer in a wood-framed home, and we treat that as one of the real advantages of building on a slab.
- Existing floor heights measured on both sides of every doorway before specifying materials
- Underlayment and setting material thickness chosen specifically to minimize transition mismatch
- Transition strips used only where a genuine, unavoidable mismatch remains
- Flush, no-step transitions achievable on a slab in a way that benefits accessibility projects
Forming a curbless recess directly in concrete
One of the genuine advantages of slab construction for bathroom flooring is the ability to form a curbless shower recess directly into the concrete rather than building up the surrounding floor to meet a shower pan, which is often the compromise required in a wood-framed home. Where the layout allows, we can saw-cut and recess a section of the slab to create the shallow depression needed for a properly sloped, curbless shower floor, keeping the finished height consistent across the entire room.
This is a genuinely different process than a wood-floor curbless conversion, which typically requires building the surrounding floor up to meet a lowered shower area. On a slab, we are working with the concrete directly, and that work has to be planned early, since it affects the drain location, the waste line routing beneath the slab, and the structural integrity of the area immediately around the recess.
Because moving a drain on a slab means cutting into the concrete and re-routing the waste line beneath it, which is real work with its own inspection requirements, we evaluate at the design stage whether the recess can be formed around the existing drain location or whether a drain relocation is genuinely necessary to achieve the layout a client wants. Holding the drain in place while forming the recess around it is usually the more economical path, and we present that option honestly alongside the alternative.
Once the recess is formed and any necessary plumbing work is inspected, the waterproofing membrane for a curbless design on a slab is built directly onto and into the concrete, continuous with the wall waterproofing, and because there is no wood subfloor to worry about swelling or moving beneath that membrane, a properly formed slab curbless shower is genuinely one of the more durable versions of this design available in bathroom construction.
- Curbless recesses can be saw-cut and formed directly into the slab where layout allows
- Drain location evaluated first to see whether the recess can be built around the existing line
- Any necessary drain relocation involves proper concrete cutting, re-routing, and inspection
- Membrane built directly onto stable concrete rather than a wood subfloor prone to movement
Heated flooring, slip resistance, and family use on a slab
Slabs carry ambient ground temperature, which in this part of the valley means a genuinely cold floor for a good portion of the year regardless of the home's overall insulation quality. Heated flooring is a particularly worthwhile upgrade on a slab bathroom for exactly this reason, and electric mat systems install cleanly within the levelling and moisture mitigation layer already being built on top of the concrete.
Because the height budget above a slab is a shared resource between the heating mat, the waterproofing, and the finish material, we plan the full stack-up together from the beginning rather than adding heating as an afterthought that then forces a compromise elsewhere. This coordination matters even more where a height-sensitive transition to an adjacent room, discussed above, is also part of the design.
Slip resistance is a real everyday consideration in west valley family homes, where bathrooms see heavy daily use from children and where a slab floor that gets genuinely cold in winter is also often damp from condensation before it warms up. A textured porcelain floor performs meaningfully better underfoot in these conditions than a glossy finish, and we recommend it as the practical default in family bathrooms across this area.
For households where an older resident or someone with mobility needs is planning to age in place, the combination of a slab's ability to form a true flush transition and a properly specified slip-resistant, heated floor makes for one of the more comfortable and genuinely safe bathroom outcomes available in any part of the valley.
- Heated mats coordinated with waterproofing and finish thickness as a single stack-up plan
- Slabs run genuinely cold, making heated flooring a practical rather than luxury upgrade here
- Textured porcelain recommended as the default for heavy family use on slab floors
- Flush transitions and heated, slip-resistant floors combine well for aging-in-place projects
Hard water, permits, and honest cost drivers on slab projects
Hard water across the valley affects finish maintenance the same way here as elsewhere, favoring porcelain over natural stone for households that want lower upkeep, and we discuss that trade-off honestly regardless of which material a client is drawn to initially. Slab floors do not change this consideration meaningfully, though the flush, low-threshold designs slab construction makes possible are often easier to keep clean day to day simply because there are fewer edges and transitions for grime and mineral buildup to collect in.
Permitting on slab flooring projects in west Salt Lake County follows the general regional pattern, with an important local wrinkle: any work that cuts into the slab to relocate or add drainage requires permit review, and the underground plumbing work must be inspected before the concrete is poured back, since that inspection is the only opportunity anyone will ever have to verify that work once it is covered. We build that inspection window into the schedule as a firm requirement rather than a flexible one.
Cost on these projects is driven first by whether the slab is cut. Holding fixture and drain locations in place, forming a curbless recess around an existing drain, or simply replacing the finish over a tested, sound slab all keep costs efficient. Moving a drain adds saw-cutting, excavation, re-plumbing, inspection, and a backfill and pour-back sequence that takes real time and adds real cost, and we price that honestly rather than downplaying it to win the job.
Beyond the slab-cutting question, moisture mitigation where testing calls for it, heated flooring and its associated electrical work, and material selection round out the major cost factors. We build a realistic allowance for old adhesive removal and slab surface preparation into every estimate here, since that step is more consistently labor-intensive on a slab than most homeowners expect going in.
- Porcelain generally favored for lower maintenance, though flush slab designs help either way
- Underground plumbing inspection required before any slab cut is poured back
- Whether the slab is cut for drain relocation is the primary cost driver on these projects
- Realistic allowance built in for concrete surface preparation and old adhesive removal
More of what we do in West Salt Lake County
Bathroom renovation in West Salt Lake County
Housing stock, permitting, and conditions across the area.
Shower Replacement in West Salt Lake County
Walk-in, curbless, and frameless glass showers built on a sound waterproof assembly.
Full Bathroom Remodel in West Salt Lake County
Back-to-studs renovation covering layout, structure, services, and finishes.
Vanity & Fixture Upgrades in West Salt Lake County
The highest-impact change short of a remodel: cabinetry, counters, lighting, fixtures.
Accessibility Modifications in West Salt Lake County
Curbless entries, anchored support, and safe layouts that still look like good design.