
Flooring · Salt Lake City
Bathroom Flooring for Salt Lake City's Older Homes
Under a Salt Lake City bathroom floor is usually a century-old plank subfloor, not plywood. What that means for your new floor matters more than which material you pick.
Most Salt Lake City bathrooms that call us about flooring are not calling about the surface. They are calling because a section near the tub feels soft underfoot, because a hairline crack has opened between two porcelain pieces that were never supposed to move, or because a hall closet ceiling below the bathroom has a stain nobody wants to talk about. In a city where the majority of the housing stock predates 1950, the floor beneath your bathroom floor is doing more work, and taking more damage, than most homeowners realize.
The pre-war floor assembly in Salt Lake City's Avenues, Capitol Hill, Liberty Wells, and Sugar House homes was built with solid dimensional lumber joists and a diagonal or straight-laid plank subfloor, usually one inch thick, nailed directly to the joists with no plywood layer at all. That assembly was well built for its era. It was never built to carry a bonded, rigid stone or porcelain floor, and it was never built to shed water, because the bathroom it originally supported held a single tub with no shower spray reaching the floor at all.
This page is about what that means in practice: how we assess a plank subfloor before committing to a finish, what decades of small leaks typically leave behind, how we handle deflection in joists that have already been notched once by a previous plumber, and what the honest cost drivers look like when the floor you are replacing was built during the Coolidge administration.
Why the subfloor decides more than the surface here
A homeowner picking a bathroom floor in a newer suburban house is mostly choosing an appearance. A homeowner picking a bathroom floor in a pre-war Salt Lake City house is choosing a structural strategy, whether they realize it or not. The plank subfloor under most of these bathrooms was laid before central heating, before showers were standard, and before anyone anticipated a sixty-pound porcelain slab being bonded rigidly across its surface. Planks shrink, swell, and occasionally cup with a century of seasonal humidity swings, and every one of those small movements telegraphs upward into whatever is fastened on top.
We do not treat the plank subfloor as a given. On nearly every pre-war project we open a section to look at the actual planks, their fastening, their moisture history, and their flatness before recommending anything. Sometimes the planks are sound and simply need a proper overlay. More often, especially near the tub and toilet, decades of minor water intrusion have left sections that flex, delaminate at the plank edges, or have been patched with plywood scraps by a previous owner solving a symptom rather than the cause.
This inspection changes what we specify. A flat, sound plank subfloor can carry an engineered overlay and a rigid finish with confidence. A plank subfloor with soft sections, uneven thickness from board to board, or historic water staining needs those sections addressed directly, not skimmed over with more levelling compound and hoped away. The cost of that honesty is a slightly less convenient quote on day one and a floor that does not crack on year three.
It is also worth saying plainly that plank subfloors are not inferior to modern plywood, they are simply different, and a contractor unfamiliar with them will either overbuild unnecessarily or underbuild dangerously. Knowing which planks in a hundred-year-old house are original, which have been replaced, and which fasteners were used tells us how the floor will behave before we ever commit material to it.
- Original one-inch plank subfloors, not plywood, in most pre-1950 Salt Lake City homes
- Assessment of plank soundness, flatness, and moisture history before specifying a finish
- Sections weakened by decades-old leaks addressed directly rather than covered over
- Overlay strategy chosen for the actual plank condition, not a generic assumption
Assessing deflection in century-old joists
Deflection is the amount a floor flexes underfoot, and it is the single most common cause of cracked grout lines and fractured rigid tile joints in older homes. Pre-war Salt Lake City joists are usually solid-sawn lumber, often generously sized by modern standards, but a century of service, previous plumbing penetrations, and the occasional unauthorized notch for a drain line all reduce their stiffness in ways that are invisible from above.
We check joist size, span, spacing, and condition before recommending a rigid finish like porcelain or natural stone. Where a joist has been notched too deeply for a waste line, a common finding in bathrooms that had plumbing added or moved at some point in the last hundred years, that joist is often carrying less capacity than the code of its own era assumed, let alone what a modern finish requires. Sistering a new member alongside a compromised joist, or adding blocking between joists, are standard corrections and they are considerably cheaper to do before the floor is closed up than to diagnose after cracks appear.
Where deflection cannot be fully corrected without disproportionate cost, particularly in a small upstairs bathroom with limited access from below, we adjust the finish choice rather than pretending the structure is something it is not. A quality luxury vinyl or a smaller-format porcelain with a flexible setting material tolerates modest deflection far better than a large-format slab or natural stone does. This is a case where being honest about the material trade-off protects your investment more than any single install technique.
Second-floor bathrooms deserve particular attention in this housing stock, since Salt Lake City's Victorians and bungalows very often put the bathroom on the upper level, above finished ceilings that a homeowner does not want opened unnecessarily. We plan our inspection and any needed reinforcement to minimize disruption to the room below, but we do not skip the assessment simply because access is inconvenient.
- Joist size, span, and prior modification checked before specifying a rigid finish
- Notched or previously compromised joists sistered or blocked as needed
- Material choice adjusted where full structural correction is impractical
- Extra care planning access to second-floor bathrooms above finished ceilings
Removing what decades of leaks have left behind
A pre-war bathroom that has had one owner update it is unusual. Most have had two or three, and each update tends to have gone over the previous flooring rather than removing it. It is common to open a Salt Lake City bathroom floor and find a 1990s vinyl sheet over a 1960s asphalt tile over the original subfloor, with a ring of dark staining around the toilet flange and a section near the tub that has clearly been wet, dried, and wet again more times than anyone can count.
Each of those layers has to come out, not just the top one, because bonding a new rigid finish over old flexible flooring is one of the most reliable ways to produce cracks within a year or two. Removing multiple generations of flooring is genuinely more labor than removing one clean layer, and it routinely uncovers the actual condition of the subfloor underneath, which is often worse than what a quick visual from above would suggest.
Water damage in these older assemblies tends to concentrate in three places: around the toilet flange, at the tub or shower threshold, and along exterior walls where a radiator or old plumbing chase let condensation collect for years. Where we find degraded plank material in those zones, we cut it back to sound wood and splice in new material properly supported on the joists, rather than skimming a thin patch over a soft spot and relying on levelling compound to bridge the gap.
Homeowners are sometimes surprised that this stage of a flooring project takes longer than the finished floor installation itself. In a hundred-year-old house that surprise is accurate and worth planning for. The upside is that once this work is done properly, it does not need doing again for a very long time, unlike a floor laid over an unresolved problem, which tends to reveal itself again within a few years.
- Multiple historic flooring layers removed rather than covered over
- Toilet flange, tub threshold, and exterior wall zones checked closely for old leak damage
- Degraded plank sections cut back to sound wood and properly spliced in
- Realistic time allowance for removal in homes with several past updates
Moisture control on a floor that was never designed for it
The original design intent of a pre-war bathroom floor assumed a tub, occasional splashing, and mopping. It did not assume a daily shower spraying water directly onto the floor plane, and it certainly did not assume a curbless entry. Bringing one of these older floors up to a standard that tolerates modern bathroom use means building moisture protection into the assembly deliberately rather than trusting the finish material alone to keep water out.
At minimum, this means a proper waterproof underlayment or liquid-applied membrane at the wet perimeter, continuous with the wall waterproofing rather than stopping at the baseboard. Where a client wants a curbless or low-threshold shower, which is an increasingly common request in these older homes as owners plan to stay long term, the membrane needs to run fully across the floor and tie into the drain, not just protect the shower footprint.
Because these homes commonly have finished space or storage directly below the bathroom, and because the plank subfloor has gaps and seasonal movement that a modern plywood floor does not, moisture control here is less forgiving of shortcuts than in newer construction. A membrane that is inconsistent in thickness or improperly lapped at a seam is more likely to be found out over a plank subfloor than over a tight plywood deck, simply because there are more paths for water to travel if it gets past the first line of defense.
We also pay attention to what is happening on the other side of the floor. Where a basement or first-floor ceiling below the bathroom shows any evidence of past moisture, we address it as part of the flooring scope rather than treating it as somebody else's problem, because the two are the same problem viewed from opposite sides.
- Waterproof membrane continuous with wall waterproofing, not just under the shower footprint
- Full membrane coverage and proper drain tie-in for curbless or low-threshold designs
- Extra attention to lapping and thickness given the gap-prone nature of plank subfloors
- Evidence of moisture on the ceiling below addressed as part of the same project
Heated flooring in a house with old bones
Cold floors are a fair complaint in any Salt Lake City winter, and pre-war homes are often the coldest of all, since many were built with minimal insulation and single-pane windows that have only partly been upgraded. A heated bathroom floor is one of the most consistently appreciated upgrades we install, and it fits naturally into a flooring project where the floor is already being opened for structural and moisture work.
Electric mat systems work well in these homes because they add minimal height to a floor assembly that may already need levelling compound to correct a century of settling and uneven planks. The mat installs within that levelling layer, so in many cases there is no meaningful additional height penalty versus doing the levelling work alone. That matters in older bathrooms where door clearance and threshold height are already tight.
The electrical side needs early planning in these houses more than in newer construction. Older Salt Lake City electrical panels are frequently at or near capacity, and a dedicated circuit for a heated floor is not always a trivial addition. We check panel capacity and circuit availability at the assessment stage, before the floor is designed around an assumption that may not hold up once an electrician actually looks at the panel.
Heated flooring also has a secondary benefit worth mentioning in this housing stock specifically: a warm floor dries faster after a shower, which matters in a bathroom with a plank subfloor beneath it that does not want to sit damp for hours at a time. It is a small mechanical assist to the moisture strategy described above, not a substitute for it.
- Electric mat systems chosen to minimize added height in tight older bathrooms
- Panel capacity and circuit availability checked early given common older electrical limits
- Heating planned before levelling and finish selection, not after
- Faster drying helps manage moisture over a plank subfloor day to day
Slip resistance, transitions, and thresholds in older layouts
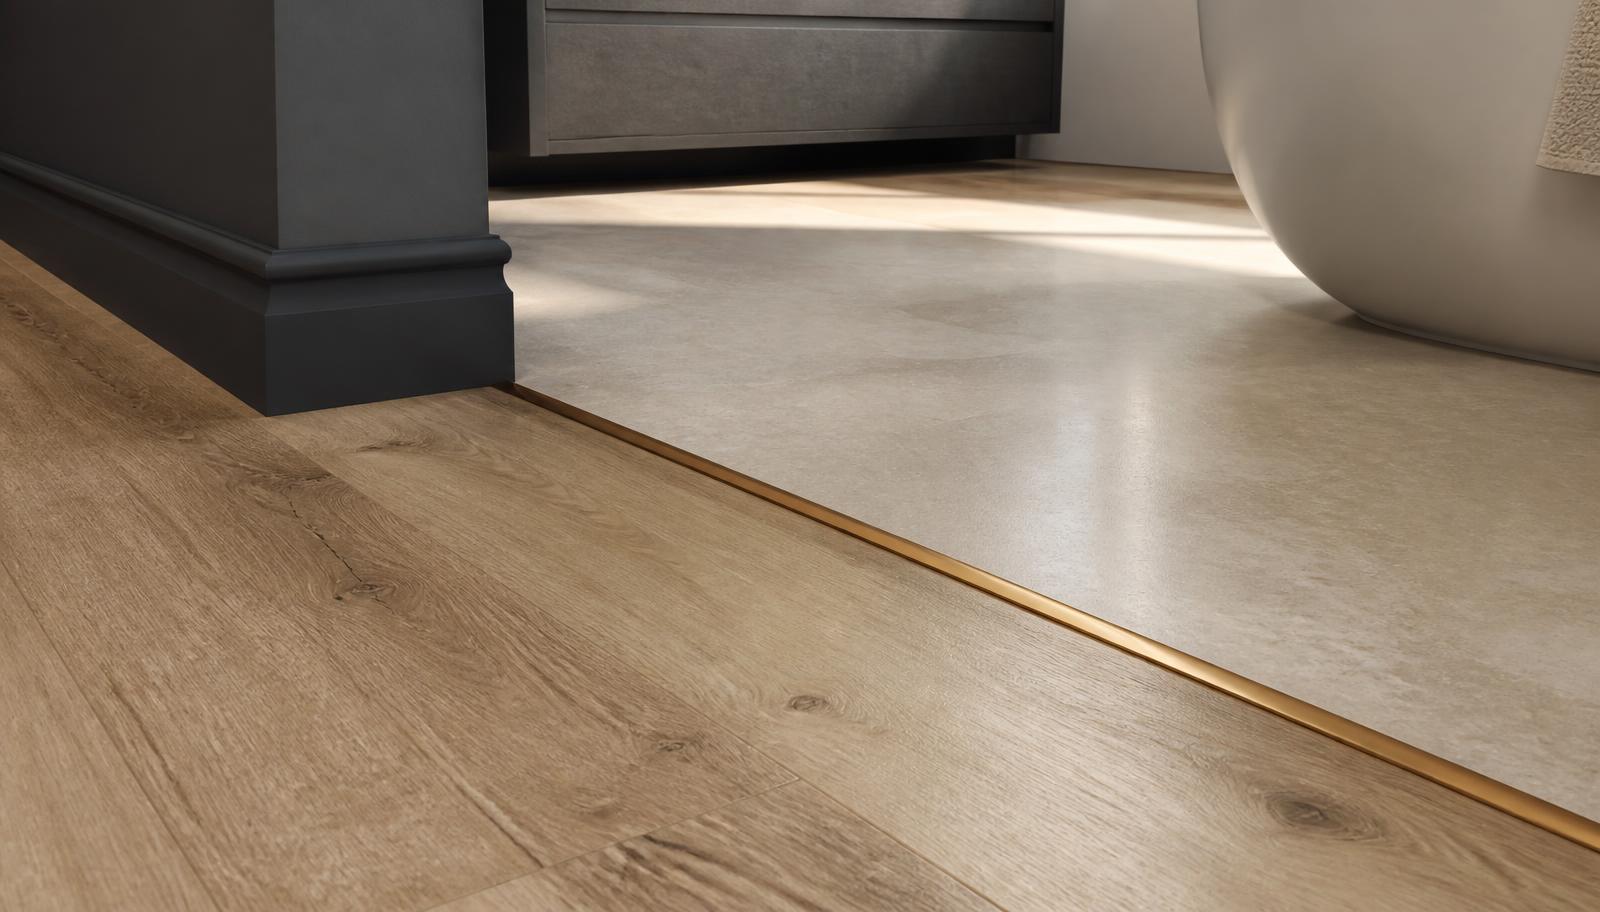
Pre-war bathrooms tend to be small, and the door threshold, the tub edge, and the transition to an adjacent hall floor are all compressed into a tighter space than in a modern house. Getting those transitions right matters more here because there is less room for error, and because older homes often have hardwood or original softwood flooring immediately outside the bathroom door that a new tile or stone floor has to meet cleanly.
Slip resistance deserves real consideration in a room this size, particularly where a household includes young children or older residents, both common in Salt Lake City's owner-occupied older housing stock. A textured porcelain or a stone with a honed rather than polished finish performs meaningfully better underfoot when wet than a glossy option that looks striking in a photograph but becomes hazardous the moment the shower runs.
Threshold height is worth discussing early rather than as an afterthought, because in these older houses the finished floor height in the bathroom and the hallway were never coordinated by a modern building standard, and correcting a mismatch after the fact usually means recutting a door. We plan the new floor's finished height against the existing hall floor and the door swing before ordering material, so the transition detail is decided rather than discovered.
Where a client wants a curbless shower entry in one of these small footprints, the threshold and slope planning becomes even more important, since there is very little floor area to distribute the necessary fall to the drain. We mock these details up during design rather than during installation, because a curbless shower that does not drain properly in a room this size is a difficult thing to fix after the fact.
- Textured or honed finishes specified for real slip performance, not just appearance
- Threshold height coordinated with existing hall and hardwood floors before ordering material
- Door swing and clearance checked against the new finished floor height
- Curbless designs planned with slope and drainage worked out before installation
Hard water, cleaning, and permits for pre-war floors
Salt Lake Valley's hard water affects a bathroom floor the same way it affects glass and fixtures: mineral deposits build up over time, and certain natural stone surfaces react poorly to the acidic cleaners people reach for when trying to remove that buildup. In a pre-war home where the rest of the room may include original or reproduction period details, we talk honestly with clients about which finishes will hold up to the water here with a normal cleaning routine and which will demand more upkeep than most households are prepared to give.
Porcelain in a matte or lightly textured finish is generally the easiest option to keep looking good under Salt Lake City's hard water without a heavy maintenance routine. Natural stone can absolutely be the right choice for a period-appropriate look in these older homes, but it needs sealing on a schedule and pH-neutral cleaners, and we make sure that commitment is understood before the material is selected rather than after the first hard water ring appears.
Permitting for flooring work in Salt Lake City is generally tied to whether the project touches plumbing, such as resetting or relocating a toilet flange or drain, or whether it is part of a larger scope that already requires a permit. Straightforward finish replacement in place typically does not trigger a separate permit, but where flooring work uncovers structural repair or a drain relocation, that work is brought into the permitted scope, consistent with how the city treats structural and plumbing work generally.
Cost in these pre-war flooring projects is driven overwhelmingly by what is found once the old layers come up: the extent of plank repair needed, whether joists require sistering, and how much of the assembly has to be rebuilt before a new floor can be trusted to stay flat and quiet. Material selection matters, but in a hundred-year-old house it is rarely the largest line item. We build a realistic allowance for subfloor and structural correction into every estimate rather than presenting a number that only holds up if nothing unexpected is found, because in housing this age, something usually is.
- Matte or textured porcelain generally the lowest-maintenance choice under hard water conditions
- Natural stone viable with a genuine sealing and cleaning commitment discussed up front
- Permits tied to plumbing relocation or structural repair uncovered during the project
- Realistic allowance built in for plank and joist correction rather than assuming a clean subfloor
More of what we do in Salt Lake City
Bathroom renovation in Salt Lake City
Housing stock, permitting, and conditions across the area.
Shower Replacement in Salt Lake City
Walk-in, curbless, and frameless glass showers built on a sound waterproof assembly.
Bathtub Replacement in Salt Lake City
Alcove, drop-in, and freestanding tubs set level, supported, and properly drained.
Full Bathroom Remodel in Salt Lake City
Back-to-studs renovation covering layout, structure, services, and finishes.
Vanity & Fixture Upgrades in Salt Lake City
The highest-impact change short of a remodel: cabinetry, counters, lighting, fixtures.
Accessibility Modifications in Salt Lake City
Curbless entries, anchored support, and safe layouts that still look like good design.