
Flooring · East Salt Lake County
Bathroom Flooring for East Bench Mid-Century Homes
A lot of east bench bathrooms still sit on a mortar bed poured before 1970. Taking that floor out properly is a different job than lifting a sheet of vinyl.
East Salt Lake County's mid-century ranches and customs were often built with a real mortar-bed floor beneath the original bathroom tile, a thick, heavy, hand-floated bed of sand and cement laid directly over the subfloor and reinforced with wire mesh. It was excellent construction for its time and, where it has stayed dry, it is often still structurally sound sixty or seventy years later. It is also nothing like the thin-set porcelain assembly most flooring crews expect to find, and removing it correctly is a fundamentally different scope of work.
The second defining condition on the east bench is what sits below the bathroom. A large share of these homes have finished lower levels, sometimes original to the house and sometimes added later, and any flooring work that involves demolition, structural correction, or plumbing changes has real consequences for a finished ceiling downstairs. We plan for that from the first assessment rather than discovering it once the mortar bed is already half demolished.
This page covers what it actually takes to remove a mortar-bed floor, how we handle the weight and depth of that demolition, what moisture control looks like in a floor assembly this different from a modern one, how heated flooring and slip resistance fit into these larger primary suites, and the honest cost picture for flooring projects on the east bench.
Why mortar-bed removal is its own category of work
A modern bathroom floor is typically an inch or less of total buildup: subfloor, a thin waterproofing or isolation layer, thin-set, and finish material. A mid-century mortar bed is a completely different animal, often an inch and a half to two and a half inches of cured cement mortar reinforced with wire mesh, poured as a genuine structural layer in its own right rather than a thin adhesive bed. Removing it is closer to light concrete demolition than to a typical flooring tear-out.
That distinction matters for planning the job realistically. A mortar bed has to be broken up mechanically, in sections, and the debris is heavy: a full bathroom's worth of mortar bed can weigh several hundred pounds, all of which has to be carried out of the house and disposed of properly. We plan for that weight and volume in scheduling and disposal from the outset, rather than treating it as an afterthought that slows the job down once we are already inside the wire mesh.
The wire mesh reinforcement itself is worth mentioning, because it does not break apart the way the mortar around it does. It has to be cut free in sections as demolition proceeds, which adds real time compared to a modern tear-out, and it is sharp enough that containment and site safety get extra attention during this phase specifically.
Underneath the mortar bed, the original subfloor is sometimes plank, sometimes an early plywood, and its condition after decades under a mortar bed that has occasionally taken on water is genuinely variable. We do not know exactly what we will find until the mortar is out, and we tell clients that plainly rather than pretending otherwise.
- Mortar-bed floors are one and a half to two and a half inches of reinforced cement, not thin-set
- Demolition planned as light concrete removal, with realistic weight and disposal volume
- Wire mesh reinforcement cut free in sections, adding real time to the tear-out
- Original subfloor condition beneath the bed genuinely variable and confirmed once exposed
Demolition weight, depth, and what it means for your project
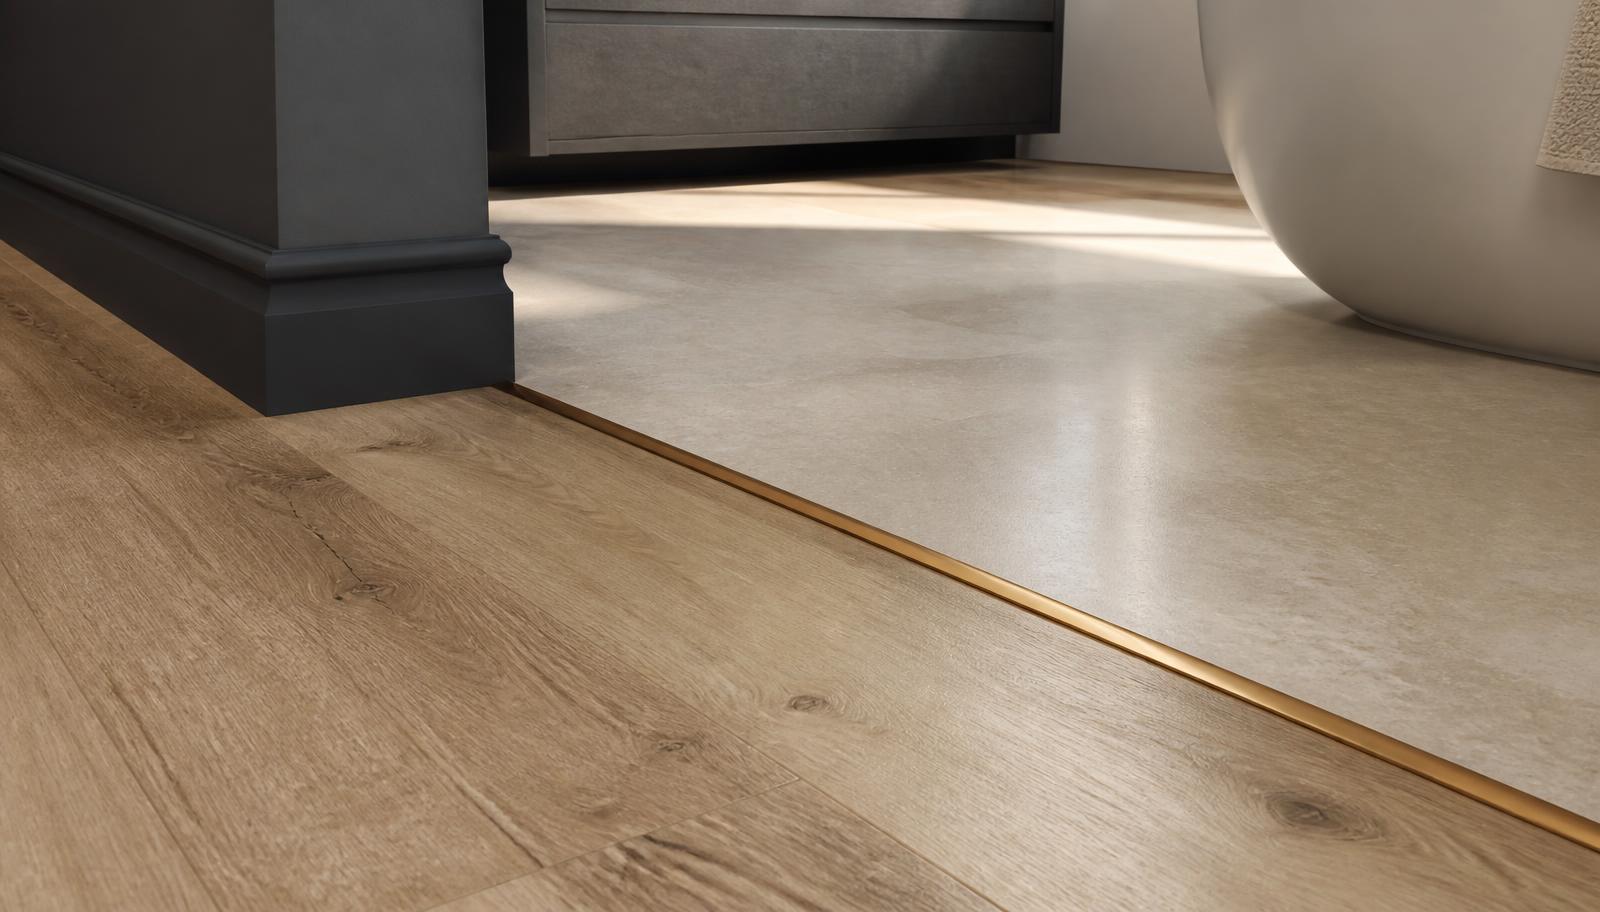
The depth of a mortar-bed floor changes more than the demolition effort; it also changes the finished floor height once it comes out, which affects thresholds, cabinetry, and how the new floor meets adjoining rooms. Removing two inches of mortar bed and replacing it with a modern half-inch assembly leaves a meaningful gap that has to be filled deliberately with subfloor, a proper levelling layer, or additional structural material, not simply patched.
We plan the replacement buildup with that height difference in mind from the first design conversation, because it affects door clearance, vanity toe-kick height, and the transition to any hallway flooring immediately outside the bathroom. Getting this wrong means a finished floor that either sits proud of the hall or leaves an awkward step, and correcting it after installation is far more expensive than planning for it up front.
The weight of the original mortar bed is also informative about the structure beneath it. A floor assembly built to carry a mortar bed for sixty years is usually generously framed, which is good news for a modern rigid finish, but we confirm that assumption with an actual inspection rather than taking it for granted, particularly in additions or later remodeled sections of the house where framing may not match the original build quality.
Where the bathroom sits over a finished lower level, we sequence the demolition to control vibration and dust transfer to the ceiling below, and we plan protective measures in that space in advance rather than reacting to a problem discovered mid-project.
- Height difference between old mortar bed and new assembly planned into the design from the start
- Door clearance, toe-kick height, and hallway transitions addressed before installation
- Framing beneath a mortar bed inspected directly rather than assumed generously sized
- Demolition sequenced to limit vibration and dust transfer to finished space below
What happens when a finished lower level sits below
A significant share of east bench homes have a finished basement or lower level, and any flooring project that requires cutting into the floor, correcting framing, or relocating a drain has direct consequences for the ceiling of that room. We treat this as a planning question from the outset rather than a complication to manage once work has started, because the alternative is an unplanned hole in a nicely finished family room ceiling and an unhappy homeowner.
Where access from below is possible, we use it to inspect framing and plumbing before opening the bathroom floor itself, which reduces the amount of disruption needed from above. Where access is not practical, because the ceiling below is finished and the homeowner does not want it opened without good reason, we plan the scope explicitly around what will be accessed, what will be restored, and what it will cost, so there is no ambiguity partway through the project.
This is also where the mortar-bed conversation and the lower-level conversation intersect most directly. A mortar bed removal that reveals unexpected subfloor damage, or a decision to relocate a drain for a redesigned shower, may require opening the ceiling below regardless of the original plan. We name that possibility in the written scope up front, along with how the opening would be restored, rather than presenting it as a surprise change order mid-project.
Homeowners on the east bench who have invested in a well-finished lower level appreciate straightforward communication about this more than almost anything else in the process, and it is the single biggest reason our assessment visits in this part of the county run longer than average.
- Access to the room below used for inspection where practical to reduce disruption above
- Scope of any ceiling opening below defined explicitly in writing before work begins
- Restoration of any opened ceiling included in the project plan rather than left open-ended
- Longer assessment visits standard here given how much is at stake below the floor
Moisture control after decades of a different assembly
A mortar bed with an integral waterproof membrane was good practice when these homes were built, and in the best cases that membrane is still intact and doing its job decades later. In many others, the membrane, if one exists at all, has failed at the drain weep holes or the perimeter, and the mortar bed has been slowly wicking moisture for years without producing an obvious visible symptom, since mortar and grout hide a slow leak far longer than a modern thin membrane assembly would.
Once the old bed is out, we build a modern waterproofing assembly regardless of what condition the old one was in, because there is no practical way to verify decades-old membrane performance and no reason to gamble on it when the floor is already open. A liquid-applied or sheet membrane continuous with the wall waterproofing, properly detailed at the drain and the toilet flange, replaces whatever assumption the original construction made.
For clients keeping a tub-and-shower combination in the same footprint, this is a straightforward upgrade. For the increasingly common request to convert an oversized mid-century layout into a walk-in or curbless shower, the membrane needs to extend across a larger portion of the floor and tie properly into a repositioned drain, which is exactly the kind of detail that benefits from the mortar bed already being fully removed rather than partially reused.
Because these homes may have finished space below, we are particularly deliberate about testing the new membrane's integrity before the finished floor goes down, using a flood test where the design allows for it, so any issue is caught while the floor is still open rather than after it has been finished and the room below has been repainted.
- Old mortar-bed membranes not relied upon regardless of apparent condition
- Continuous modern membrane built fresh, tied properly to drain and flange
- Curbless and walk-in conversions benefit from a fully rebuilt, larger membrane footprint
- Flood testing used where practical given the risk to finished space below
Heated flooring and slip resistance in generous primary suites
East bench primary suites are often larger than the valley norm, which changes the heated flooring conversation in a useful way: there is generally more room to plan a sensible electric mat layout that covers the areas actually walked on, without the cost or complexity of heating a large, rarely used floor area from wall to wall. We map the mat layout to actual foot traffic during design rather than defaulting to full coverage regardless of layout.
Because these projects often involve removing a mortar bed and rebuilding the assembly from the subfloor up, the height budget for a heated floor mat is easier to manage than in a shallower modern retrofit, since we are not fighting an existing thin assembly for space. This is one of the genuine advantages of doing the heating work at the same time as the larger flooring project rather than as a separate, later addition.
Slip resistance matters in these larger suites partly because bigger floor areas often mean larger expanses of a single material, and a slick, glossy finish across a wide floor reads differently underfoot when wet than the same finish in a small, contained shower stall. We steer clients toward textured porcelain or a honed stone finish for the open floor area, reserving any higher-gloss material, if desired at all, for vertical surfaces where slip resistance is not a factor.
In homes with vaulted or beamed ceilings common on the east bench, the room's overall comfort also depends on proper ventilation working alongside the heated floor, since a warm floor in a poorly vented room does not solve the underlying humidity and drying problem on its own. We treat heating and ventilation as complementary parts of the same comfort and durability strategy rather than separate purchases.
- Mat layout mapped to actual foot traffic in larger primary suite footprints
- Rebuilt assemblies from a mortar-bed removal make room for heating without extra height cost
- Textured or honed finishes recommended across larger open floor areas for real slip performance
- Heated flooring paired with proper ventilation rather than treated as a standalone fix
Hard water, cleaning, and preserving what is worth preserving
Some original mid-century tile on the east bench is genuinely worth a second look before demolition, particularly in bathrooms that have been well maintained and where the pattern or color has real period character. Where a client wants to preserve an original field of tile and only rebuild the wet area, we assess whether the surrounding mortar bed is sound enough to support that approach, and we are honest when it is not, since patching a failing mortar bed to save a portion of old tile rarely holds up.
For newly installed floors, hard water along the Wasatch Front means the same practical considerations here as elsewhere in the valley: mineral buildup on polished surfaces and a real sealing commitment for natural stone. In a primary suite where a client wants stone for its depth and warmth, we discuss that maintenance commitment specifically, since a large stone floor is a bigger cleaning investment than a small one and the household needs to actually want to keep up with it.
Permitting for flooring work in this part of the county follows the region's general pattern: in-place finish replacement typically does not require a separate permit, while drain relocation, structural repair, or work tied to a larger remodel does. Given how often mortar-bed removal on the east bench uncovers a genuine structural or plumbing question, we plan for permitted work as the likely outcome rather than the exception.
Cost on these projects is driven first by the demolition itself, given the labor intensity of removing a mortar bed safely and completely, followed by whatever the resulting subfloor and framing inspection reveals. Waterproofing rebuild, any drain relocation for a redesigned shower, and heated flooring round out the major factors, with material selection setting the visible ceiling on top of an assembly we do not compromise regardless of budget.
- Selective preservation of sound original tile considered where the mortar bed genuinely supports it
- Stone floor maintenance commitment discussed honestly given hard water in the region
- Permits planned as the likely outcome given how often mortar-bed removal reveals structural work
- Demolition labor and subsequent findings are the primary cost drivers on these projects
More of what we do in East Salt Lake County
Bathroom renovation in East Salt Lake County
Housing stock, permitting, and conditions across the area.
Shower Replacement in East Salt Lake County
Walk-in, curbless, and frameless glass showers built on a sound waterproof assembly.
Bathtub Replacement in East Salt Lake County
Alcove, drop-in, and freestanding tubs set level, supported, and properly drained.
Full Bathroom Remodel in East Salt Lake County
Back-to-studs renovation covering layout, structure, services, and finishes.
Vanity & Fixture Upgrades in East Salt Lake County
The highest-impact change short of a remodel: cabinetry, counters, lighting, fixtures.
Accessibility Modifications in East Salt Lake County
Curbless entries, anchored support, and safe layouts that still look like good design.