
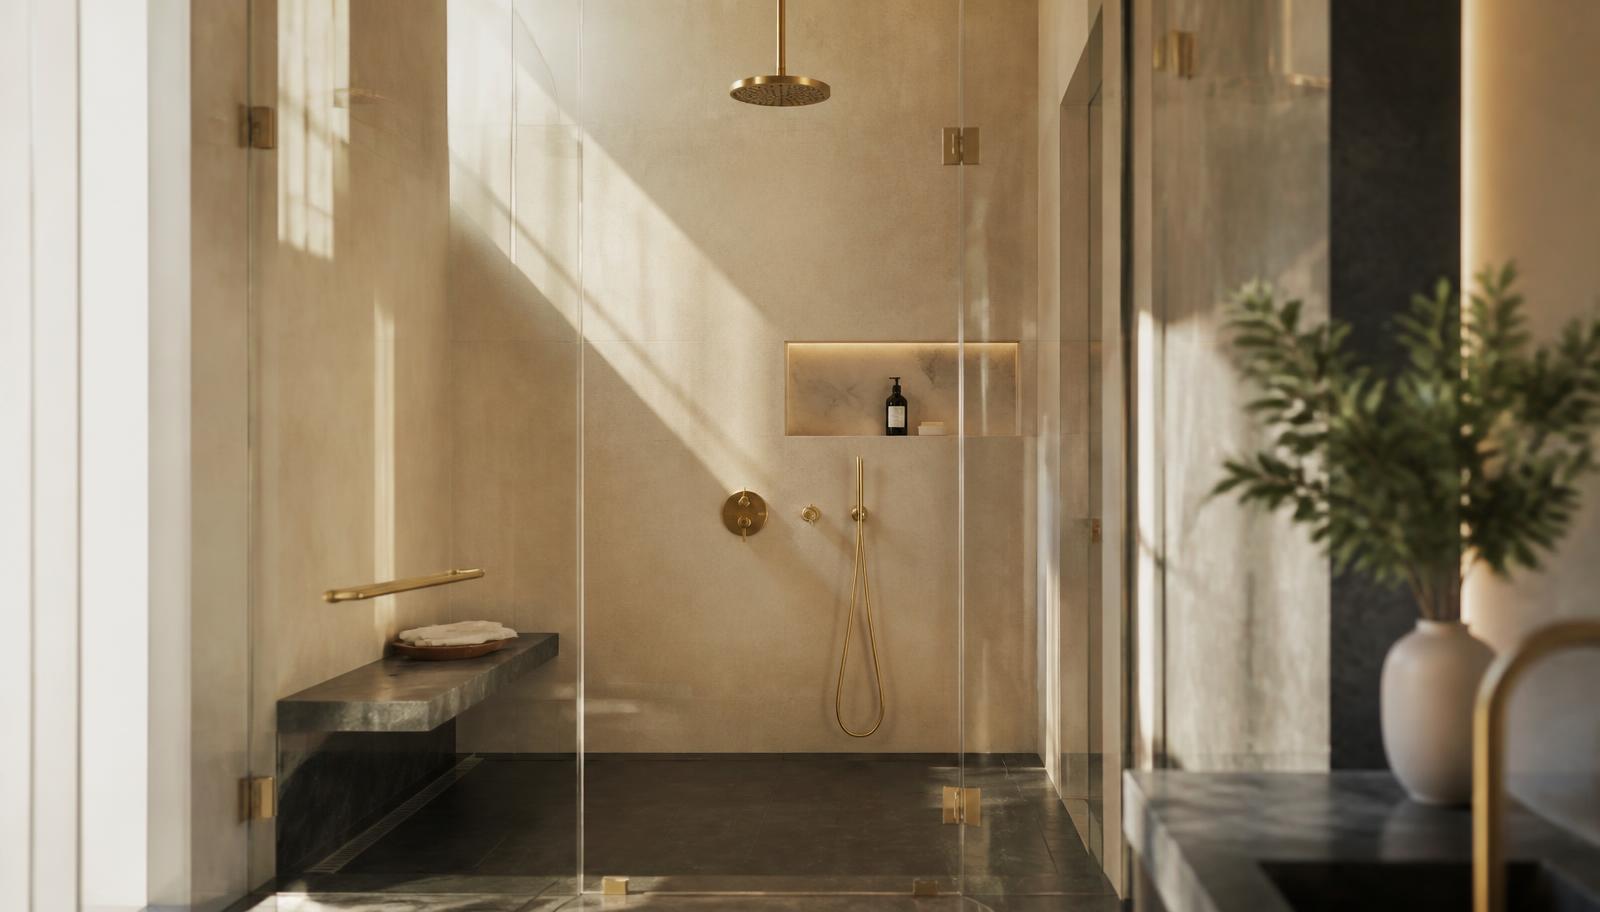
Shower Replacement · North Salt Lake County
Shower Replacement on the North County Foothills
Split-levels and hillside primary suites in this part of the county share the same weak point: an oversized garden tub nobody uses next to an undersized shower, sitting above a drain run with limited fall to work with.
The garden tub deck is the single most common shower replacement starting point we see in northern Salt Lake County. Builders in the hillside subdivisions of the 1990s and 2000s put a large soaking tub in almost every primary suite, framed as a selling feature at the time, and paired it with a shower stall sized to whatever square footage was left over. Two decades later, the tub sits unused while the family showers daily in a stall too small for one adult, let alone two. Converting that tub deck into a properly sized shower is the project we are asked to scope more than any other in this area.
What makes that conversion different here than in a flat valley-floor subdivision is the geometry of the house itself. Split-level and tri-level homes, and hillside construction generally, route drains sideways through floor assemblies before they find a stack, and the fall available for a new drain location is often tighter than a homeowner assumes from looking at a bathroom on a level floor. A garden tub sitting on an exterior wall at the edge of a half-level is not automatically a place where a new shower drain can simply be relocated to.
This page covers what shower replacement involves specifically in this housing stock: the garden tub deck conversion, why the local floor geometry constrains curb and curbless decisions, drainage and fall limits on hillside lots, what a correct waterproof assembly looks like against a builder-grade one, glass and hard-water specification, ventilation on cold uphill exterior walls, permitting through the relevant municipal authorities, and the honest cost picture for doing this work on a slope.
The garden tub deck: what conversion actually involves
A garden tub deck is built as a platform, not a wet room. The tub sits inside a framed deck faced in tile or laminate, often with a step up, and the plumbing beneath it was sized for a tub filler and drain rather than for the fixture density a walk-in shower needs. Converting the deck means removing the tub and the framed platform down to the subfloor, which typically reveals a plumbing wall that has plenty of room to be reworked but was never waterproofed, because nothing in a tub deck's original construction needed to be.
This is good news structurally. Unlike an old pre-war floor with a century of settling behind it, hillside construction from this era is generally straightforward dimensional or engineered lumber framing in known, predictable condition. Once the deck is demolished, we are usually working with sound, dry framing that simply needs blocking added for the new shower's bench, niche, and grab bar locations, rather than repair for existing damage. The exception is where the tub has been leaking slowly for years without anyone noticing, which does happen, and which is exactly why we inspect before we build rather than assume.
The reclaimed footprint is the real win. A garden tub deck typically occupies more floor area than the undersized shower stall next to it, and combining both into one properly proportioned shower produces a room that finally fits how the household actually uses it, without touching a single exterior wall. We regularly design showers in this footprint large enough for a bench, a full-height niche, and a two-person layout, which was never possible in the original stall alone.
We do ask clients directly whether they want to keep any tub in the house at all before we commit to this scope, since removing the primary suite's tub means the household's only remaining bathtub, if any, is wherever the secondary bathroom's is. For most households we work with here that trade is an easy one, but it is worth deciding deliberately rather than by default.
- Full demolition of the tub deck platform down to subfloor and framing
- Reworking the plumbing wall for shower supply and drain density
- Blocking added for bench, niche, and grab bar locations
- Reclaimed footprint combining tub deck and old shower stall into one room
- A deliberate decision on whether to keep a tub elsewhere in the house
Hillside geometry and why curb decisions differ here
Split-level and tri-level construction puts bathrooms on a half-level between the main living space and the bedrooms, which means the floor structure under that bathroom is frequently a shorter joist span sitting above a crawlspace or a lower-level ceiling rather than a full basement. That geometry affects how much room there is to work with when altering drain location or floor depth, and it is one of the first things we check at the assessment visit rather than assuming it matches a typical single-story home.
A curbless entry is achievable in a lot of these primary suites specifically because the tub deck conversion already opens the floor structure for rework, which gives us a chance to plan the recess properly rather than retrofit into an untouched floor. Where the joist direction and available depth cooperate, we build a genuine curbless shower with a linear drain positioned along the low side of the new layout.
Where the half-level geometry does not cooperate, typically because the ceiling below is finished living space that cannot be opened without disrupting another room, a low-profile pan is the more realistic path. It keeps the vertical footprint shallow enough to avoid touching the ceiling below while still delivering an easy step-in with frameless glass.
Newer hillside construction from the 1990s onward, which makes up a large share of homes in this area, tends to be a better curbless candidate than the older 1960s and 1970s split-levels, simply because more modern framing spans and truss designs typically leave more usable depth to recess into. We confirm this on site rather than by build year alone, since individual homes vary even within the same subdivision.
- Half-level floor structure assessed for depth before recommending curbless
- Tub deck rework as a natural opportunity to build a proper recess
- Low-profile pans where the ceiling below cannot be disturbed
- Newer hillside framing generally more accommodating of a full recess
Drainage and the fall constraint on sloped lots
Drain fall, the vertical drop available over a given horizontal run to keep waste flowing correctly, is not unlimited on a hillside lot the way it can feel on a flat valley-floor property. Long horizontal runs from an upper-level bathroom sideways through a floor assembly before reaching a vertical stack are common in split-level and tri-level construction, and the available fall over that run sets real limits on how far a drain can move without opening up a lower ceiling or reworking the stack connection itself.
This matters directly for the garden tub conversion, because homeowners often want the new shower's drain positioned differently than the old tub's, for reasons of layout or a preference for a particular corner. We map the existing horizontal run and available fall during the assessment so any proposed drain relocation is evaluated against real conditions rather than assumed to be free. In many cases the most sensible drain position keeps close to the existing tub drain's horizontal path even as the fixture itself changes, which keeps cost and complexity down without compromising the design.
Where a homeowner does want a meaningful drain relocation, and the fall supports it, that typically means opening the ceiling of the room below, which on a split-level is often a garage, mechanical room, or lower-level living space rather than a formal room, making that disruption considerably more manageable than it would be under a finished ceiling in a full two-story home.
Getting this analysis right up front avoids the worst outcome on a hillside project: a shower that drains slowly because the fall was too tight for the chosen layout, discovered only after the pan is built and the tile is set.
What a correct waterproof assembly replaces here
The failure we most often find behind a garden tub deck and an adjacent undersized shower stall is a builder-grade fiberglass or acrylic pan set into a framed platform with minimal waterproofing behind the tile or laminate facing. These decks were built to look finished, not to manage moisture over decades, and the facing material was rarely backed by a proper membrane. Water that gets past a grout line or a caulk joint at the tub's edge has nowhere to go but into the deck framing, and by the time it shows as a stain or a soft spot at the base of the platform, it has often been happening for years.
A correct assembly starts with removing that platform entirely and building a continuous waterproof membrane from the drain flange up the walls, rather than relying on a surface tile or panel to keep water out. The membrane, not the finish material, is what actually stops water from reaching the framing, and it has to be unbroken at every corner, every penetration for a valve or niche, and every seam. This is invisible once the shower is finished, which is exactly why it has to be verified during construction rather than assumed from the outside.
In hillside homes specifically, we pay close attention to the wall assembly on the uphill or exterior-facing side of the shower, since that wall is more exposed to temperature swings than an interior wall would be, and a poorly sealed membrane there is more likely to show condensation or moisture issues over time than the same detail on an interior wall.
Getting this right the first time matters more on a hillside lot than it might elsewhere, because a failed shower assembly here often means water finding its way into a half-level ceiling assembly that is more complex and more disruptive to open up and repair than a simple single-story floor.
- Full platform removal rather than resurfacing over the existing deck
- Continuous membrane from drain flange up walls, unbroken at corners and penetrations
- Extra attention to exterior-facing wall assemblies on uphill sides of the house
- Verification during construction since the assembly is invisible once finished
Glass and fixture specification for hard water and cold walls
Water hardness along the Wasatch Front does not change with elevation, so the mineral scale that affects glass and fixtures anywhere in the valley affects showers on the foothills just as much. What does change slightly in this area is exposure: primary suites with a garden tub deck often had a large uncovered glass or tile surface facing a window, and mineral deposits combined with hard-water spotting show up clearly in that kind of light. Treated glass and a matte or brushed hardware finish are worth specifying here for the same reason they are anywhere else in the valley, and arguably more visibly given how much natural light these primary suites tend to have.
Because hillside homes often have longer hot water runs from a water heater placed at an odd elevation relative to the bathroom, a thermostatic valve is a particularly good investment in this area. It holds temperature steady despite pressure fluctuation elsewhere in the house, and it also compensates somewhat for the temperature lag that a long hot water run can introduce, giving a more consistent shower experience than a standard single-handle valve would.
Frameless glass suits the larger footprint that results from a tub deck conversion well, since the reclaimed space usually allows for a genuinely spacious enclosure rather than the compromise glass configuration a small stall would require. We do recommend a fixed panel with minimal hardware over a fully framed door in these rooms, both for the cleaner look and for the reduced cleaning burden given the hard water in this region.
A handheld on a slide bar is worth including in nearly every one of these primary suite conversions, since the larger enclosure lends itself well to a bench, and a fixed showerhead alone rarely serves a bench-equipped shower as well as a handheld does.
- Treated glass specified against Wasatch Front hard water
- Thermostatic valves recommended given longer hot water runs on hillside lots
- Frameless glass suited to the larger reclaimed footprint
- Handheld on a slide bar paired with bench seating
Ventilation on uphill exterior walls
Primary suites on the uphill side of a hillside home frequently sit against exterior walls that face directly into the coldest prevailing air the house experiences, and that combination of a wet room and a cold exterior wall is exactly the condition that produces condensation and, eventually, mold if ventilation is inadequate. Builder-grade construction from the 1990s and 2000s in this area often included a bathroom fan, but frequently one undersized for the room or vented into an attic space rather than properly terminated outside, which does little more than move the moisture problem from the bathroom to the attic.
During a shower replacement, we take the opportunity to verify where the existing fan actually terminates, since this is often the first time anyone has looked at that duct run since the house was built. Where it dead-ends in the attic, rerouting it to a proper exterior termination with a backdraft damper is a modest addition to the project and a meaningful long-term improvement, particularly important on hillside lots where wind exposure is often greater than on a sheltered valley-floor property.
Fan sizing matters more in a primary suite that has just gained significant square footage from a tub deck conversion. A fan sized for the original small shower stall is very likely undersized for the larger combined room, and we recalculate the required capacity based on the finished room size rather than leaving the original fan in place by default.
Addressing ventilation properly at this stage protects the investment made in the new shower itself, since a well-built waterproof assembly still depends on the room around it drying out properly between uses.
Permits and inspections for this scope
A shower replacement that keeps the same general drain location and does not alter framing beyond adding blocking is generally treated as exempt finish work by the municipal building departments across this part of the county. Once a project relocates a drain, reworks supply plumbing beyond a straightforward reconnection, or alters structural framing to accommodate a curbless recess, that scope generally does require a permit, and we handle the submission and scheduling as part of the project.
Because a garden tub deck conversion so often involves opening a plumbing wall that has not been touched since the house was built, we frequently find opportunities to correct minor deficiencies, such as an undersized vent or a fitting that does not meet current standards, while everything is already exposed. Doing that under a permit with inspection is the right way to handle it rather than simply leaving the original condition in place.
Inspections for this scope follow the standard sequence used throughout the county: rough plumbing before the wall and floor are closed, and a final inspection once the shower is complete and fixtures are set. On hillside lots where access can be more limited than on a flat property, we plan trade scheduling and material staging with that access in mind so inspection windows are not delayed by something as simple as a narrow driveway or a steep walkway.
We confirm the specific permitting authority and process for your address at the assessment visit, since coverage in this part of the county includes both incorporated cities and unincorporated areas with somewhat different submission processes even though the underlying code is consistent.
- Like-for-like drain location and framing generally exempt from permitting
- Drain relocation or structural recess work generally requires a permit
- Minor plumbing deficiencies corrected under permit when a wall is already open
- Standard rough and final inspection sequence, scheduled around hillside site access
Timeline and the honest cost picture on a hillside lot
A garden tub deck conversion typically runs slightly longer than a straightforward shower-to-shower replacement, usually in the range of one and a half to two and a half weeks of on-site work, because the demolition and rebuild of the tub deck platform is more labor-intensive than removing a pre-existing shower stall. Waterproofing cure time is the same non-negotiable pause it is on any project, and glass fabrication and delivery for the larger enclosure these conversions typically produce can add its own lead time at the end.
Living through it in a primary suite conversion is usually more comfortable than in a single-bathroom home, since most households in this area have at least one other functioning bathroom elsewhere in the house during the work. That said, access and material staging on a hillside lot deserve a real conversation up front, since narrow driveways, steep walkways, and split-level entries can all add time to material delivery and debris removal if they are not planned for.
The largest cost driver specific to this area is the scope of the tub deck demolition and rebuild itself, since removing and rebuilding a framed platform is more work than removing a self-contained shower stall. The second is drain fall and any relocation, since a drain move that requires opening the ceiling of the room below adds real cost, particularly where that room is finished space rather than a garage or mechanical room. The third is the ventilation correction, which is inexpensive when the fan simply needs rerouting but becomes a larger item if the duct run has to travel a long distance to reach a suitable exterior wall.
Against those variables, the reclaimed square footage from combining a tub deck and an old shower stall usually means the finished shower delivers more visible value per dollar than a like-for-like replacement would, since so much of the investment goes toward a room that is genuinely larger and better proportioned rather than simply refinishing the same footprint.
- Tub deck demolition and rebuild as the largest single cost driver
- Drain relocation cost tied directly to available fall and the room below
- Ventilation correction cost dependent on duct run length to an exterior wall
- Reclaimed square footage delivering strong visible value for the investment
More of what we do in North Salt Lake County
Bathroom renovation in North Salt Lake County
Housing stock, permitting, and conditions across the area.
Bathtub Replacement in North Salt Lake County
Alcove, drop-in, and freestanding tubs set level, supported, and properly drained.
Full Bathroom Remodel in North Salt Lake County
Back-to-studs renovation covering layout, structure, services, and finishes.
Flooring in North Salt Lake County
Bathroom floors built from the substrate up, with heated flooring planned in.
Vanity & Fixture Upgrades in North Salt Lake County
The highest-impact change short of a remodel: cabinetry, counters, lighting, fixtures.
Accessibility Modifications in North Salt Lake County
Curbless entries, anchored support, and safe layouts that still look like good design.